Category Archives: Digital Voice
Update je TYT MD-2017 naar 100.000 contacten
Bron: buytwowayradios.com
 As many of you may know, I work tirelessly with TYT directly to provide feedback to them (both my own and that of the end user) to enhance their products. I can honestly say it is an around-the-clock job. I spend many hours outside of normal day working with TYT to make their products the best in the Chinese market. I was the one who had them re-work the programming software for the MD-2017 and MD-9600 so they could be used with your pre-existing code plugs. This has been a game changer as far as I am concerned. So, let me jump off my soap box now..
When the MD-2017 was released, my biggest concern was the lack of storage in the radio for contacts. For most folks, 10,000 contacts is more than enough; however, I am a firm believer in the old saying that bigger is better.
From my feedback, TYT recently released a firmware upgrade for the MD-2017 to allow up to 100,000 contacts! However, in order to accomplish this, the recorder option had to go away. I was not a fan of the recorder anyhow. It was a neat concept on paper, but a useless function on the radio- kind of like a flashlight or a wrist strap.
Want to add up to 100,000 contacts into your TYT MD-2017 dual band DMR digital radio? Here’s how to do it.
What you need:
- TYT MD-2017 dual band radio
- Firmware V3.33 bin
- V1.17 programming software
- Firmware launcher/installer
- Programming cable
Step 1: Save the correct firmware version to your desktop. In the case of the early release radios, it is V3.33 bin (non GPS)
Step 2: Double click on the “FirmwareDownloadV3.04_EN.exe” link
Step 3: Under the “User Program” section, click on “Open file upgrade”. This is where you will find the file you saved to your desktop.
Step 4: Plug the programming cable in to your radio and the USB in to your computer. With the radio powered off, hold down the PTT and orange button and power the radio on. The screen will remain black but the LED light on top will flash red and green. You are now in firmware update mode.
Step 5: Write the firmware to the radio. To do this, click on the “Download file of upgrade” button. Your radio will now begin to receive the updated firmware. Once the download is complete, power the radio off and unplug the cable from the radio.
Step 6: Open the V1.17 software and plug the cable back into the radio. If you have a current code plug, the contacts that are in that will remain. This is important for your talkgroups.
Step 7: Click on the “Program” dropdown and select “Write contacts”. A box will open with available buttons “Read, Write, Export, Import, and Cancel”.
Step 8: If you already have a list, you will want to click the “Import” button. After you do this, select the list and import it to the software. The only notification you will get is if it was successful or not. You will not see these in your regular contact list.
Step 9: Once you get the notification that the import was successful, you will now want to power the radio on and hit the “Write button”. The process will now begin. Upload times depend on the number of contacts. With the 64,000+ contacts I uploaded, it took about 5 minutes. Be patient and do not power the radio off!
Step 10: Once the download is complete, power the radio off and then back on again. Next is the most important step: You will need to go into your menu for the radio, click > utilities > radio settings > ContactsCSV, and turn it on.
Now your radio should be good to go! I think there are a few little things I would like for TYT to fix, but for the most part this is pretty awesome!! I like the display on it. It has the look of a pretty well-known firmware hack from the MD-380 days.
I installed this on my MD-2017 a few weeks ago and have been using it ever since. I plan to release my csv file containing over 64,000 contacts soon.
As always, my sales staff and I appreciate each and every one of our customers. We will continue to support you and the products we sell!
73,
Anthony R.
Sales Manager
www.buytwowayradios.com
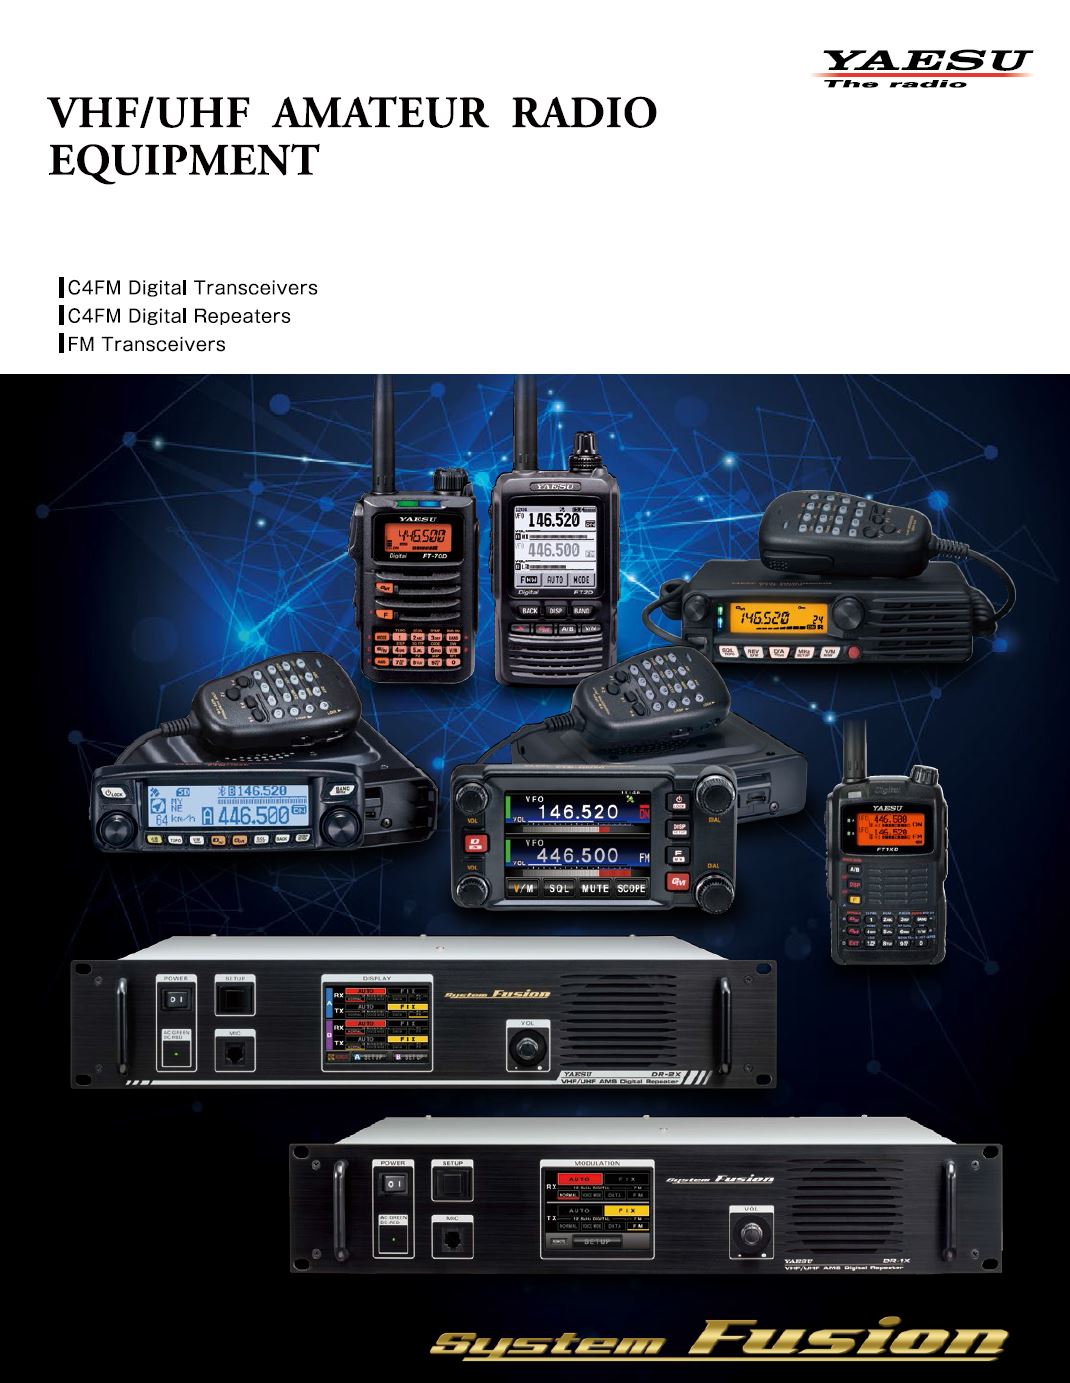
Nieuwe Yaesu VHF-UHF catalogus
De catalogus vind je hier!

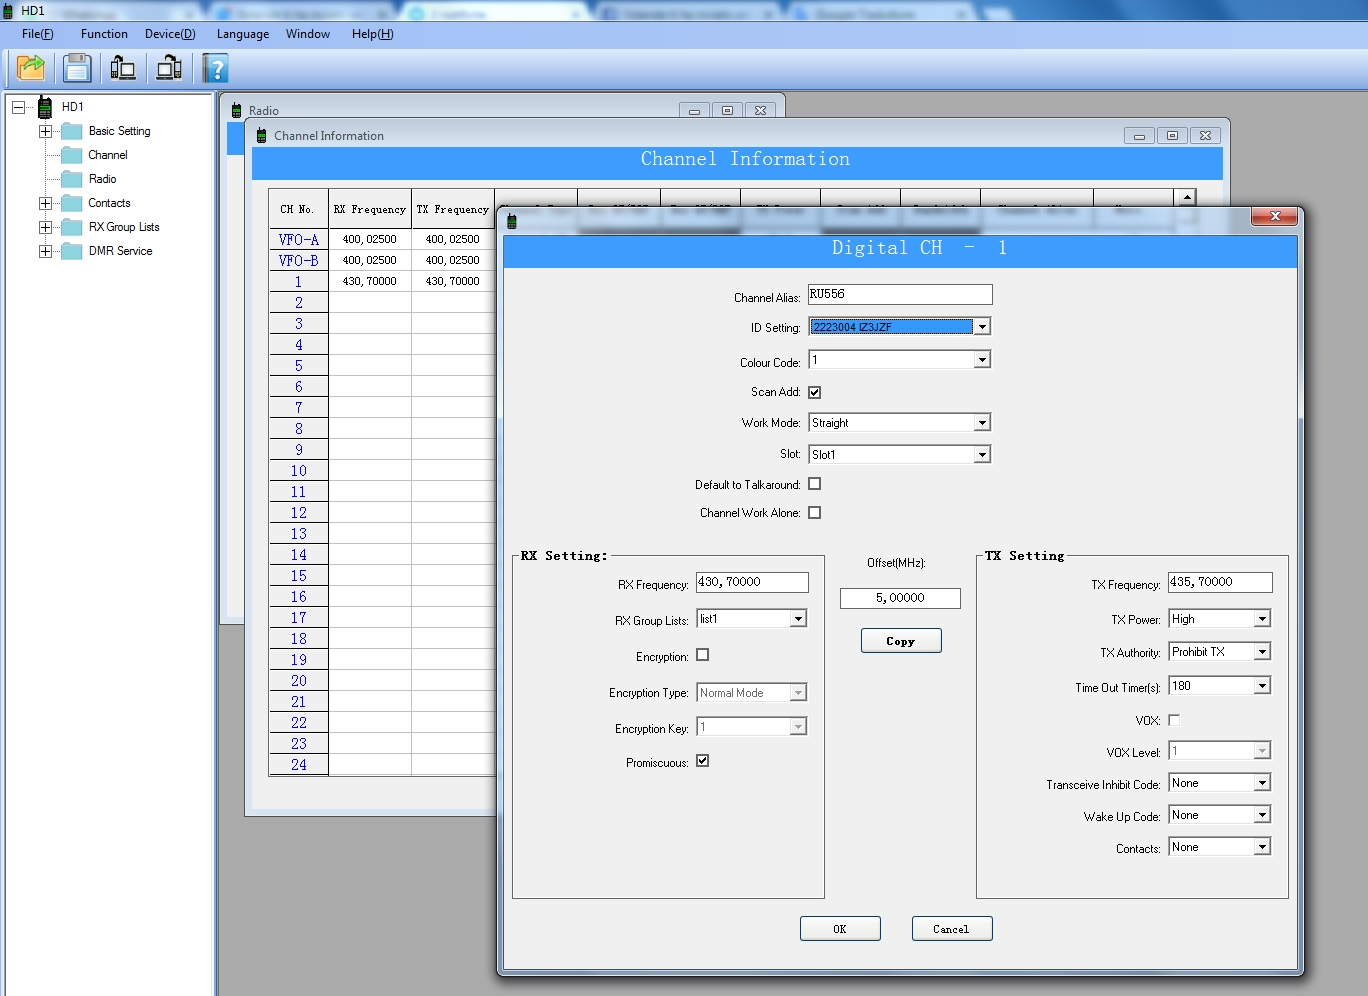
What’s a CodePlug? Where’s that name come from?
Bron: Minnesota DMR
Back in the good old days, radios used crystals to control the frequencies, and sometimes had internal jumpers that were set for the various options. Some time later on, they moved the internal jumpers to a jack on the back of the radio. They configured plugs with wire jumpers in them that plugged into the jack to enable certain options. These became the original code plugs. Later on, more things were controlled by these code plugs, such as tone encode/decode selection.
As radios became microprocessor controlled, the external code plugs moved inside the radio as programming information. The term has, unfortunately, remained with us, although there’s not much that still plugs in. The code plug contains the operating frequencies, tone selections, timeout values, system IDs, etc. In some instances, there’s even some parts of the program itself in the code plug which defines a radio’s personality. These days, the code plug is just a relatively small binary file that’s managed by software a program and transferred to or from the radio via several proprietary means.

